Requirements
- CyberPanel (Installing CyberPanel)
- SSH credentials & SSH client (PuTTY)
- FTP credentials
- Working SSL on website
- ASP.NET IDE (Visual Studio Community)
Installing ASP.NET Runtime
Connect to your Linux server using SSH client. Use your Linux package manager to install ASP.NET Runtime. More can be read from here.
I’m following CentOS 7 instructions from the documentation link above.
Step 1
Before you install .NET, run the following commands to add the Microsoft package signing key to your list of trusted keys and add the Microsoft package repository. Open a terminal and run the following commands:
sudo rpm -Uvh https://packages.microsoft.com/config/centos/7/packages-microsoft-prod.rpm
Step 2
The ASP.NET Core Runtime allows you to run apps that were made with .NET that didn’t provide the runtime. The following command installs the ASP.NET Core Runtime, which is the most compatible runtime for .NET. In your terminal, run the following command:
sudo yum install aspnetcore-runtime-6.0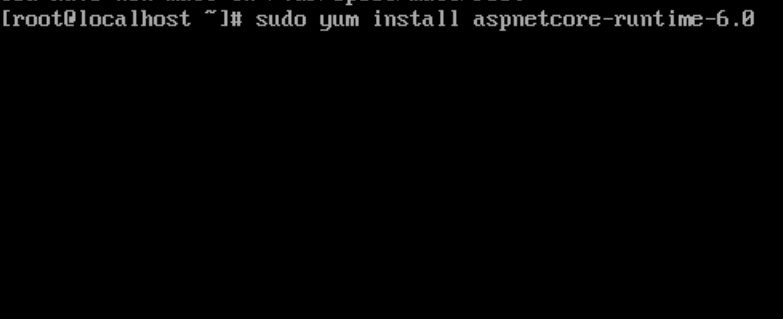
Answer ‘y’ when needed to.
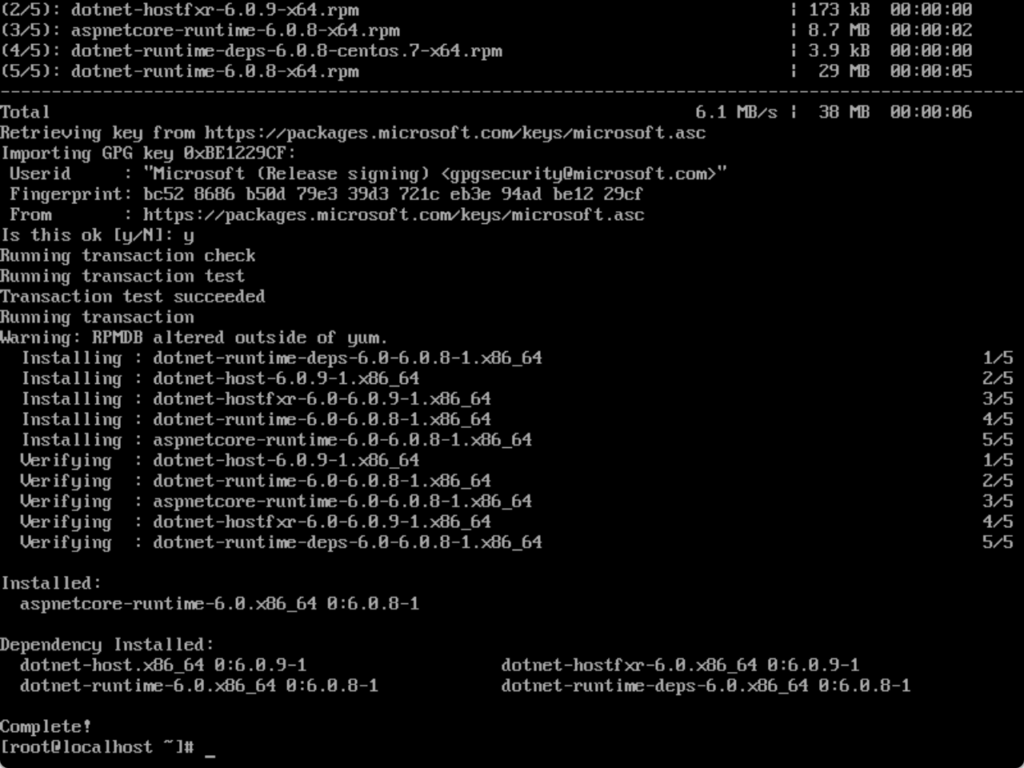
Success!
Configure & Publish ASP.NET
Configure your ASP.NET project. I used this documentation from Microsoft.
Step 1
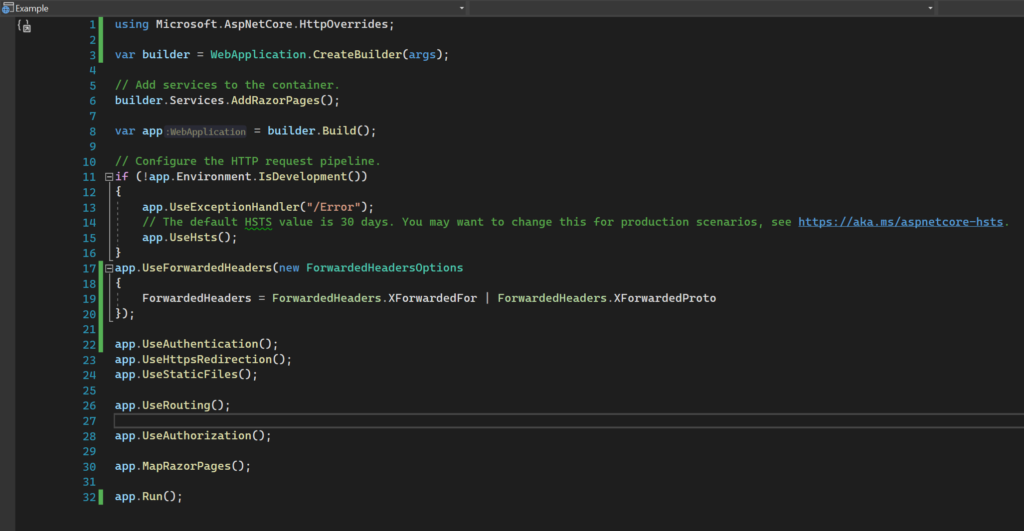
Configure a reverse proxy server
app.UseForwardedHeaders(new ForwardedHeadersOptions
{
    ForwardedHeaders = ForwardedHeaders.XForwardedFor | ForwardedHeaders.XForwardedProto
});
Step 2
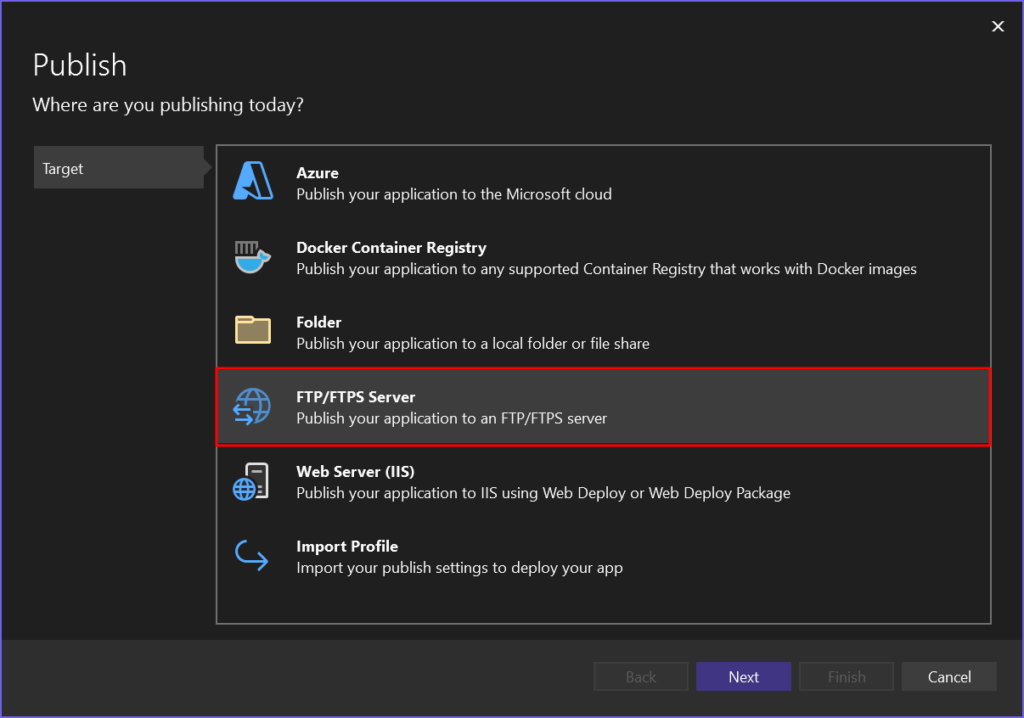
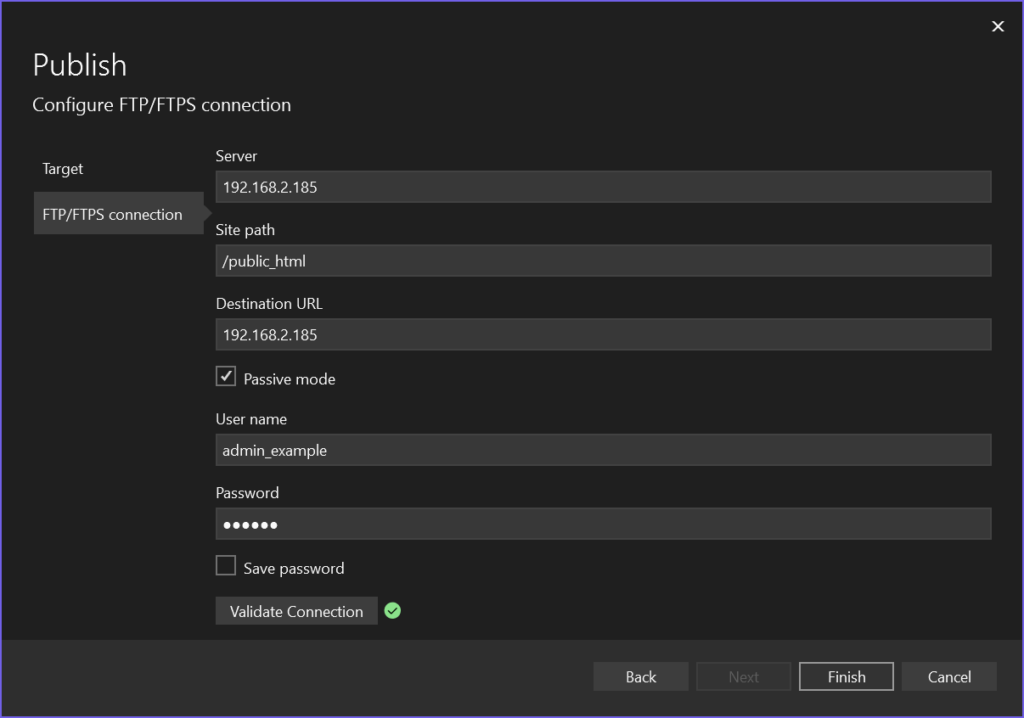
Publish using FTP to your Linux server.

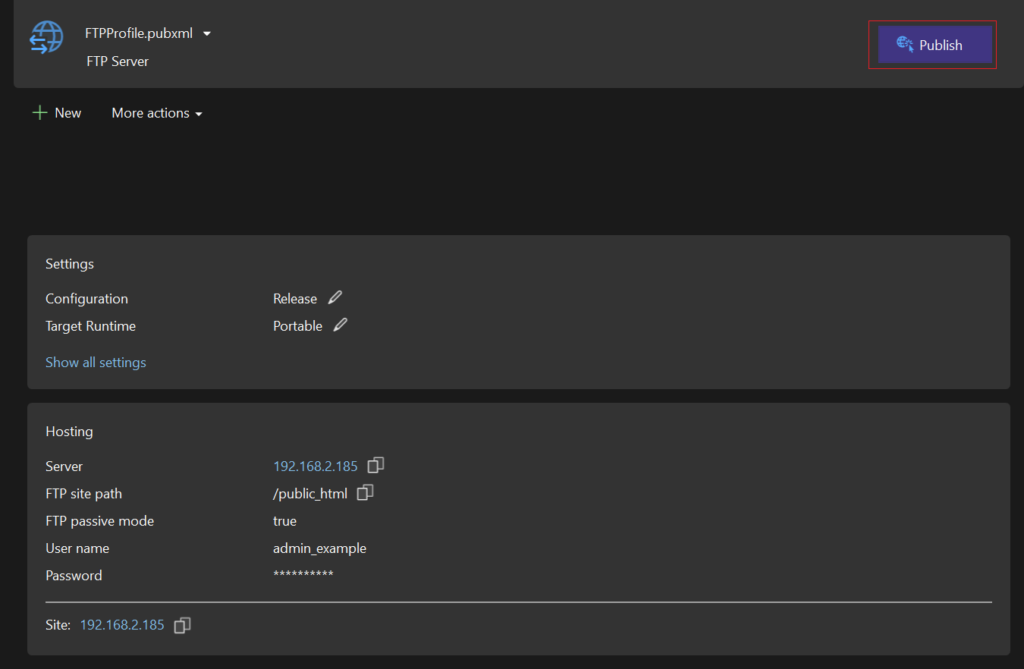
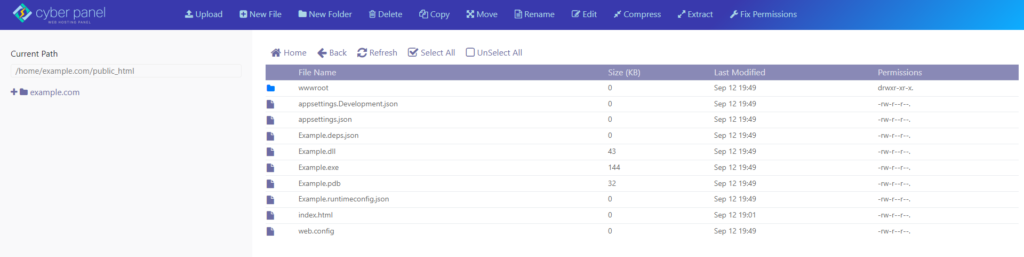
Success!
Create ASP.NET service
Step 1
Install Nano text editor.
sudo yum install nanoCreate a service file using nano.
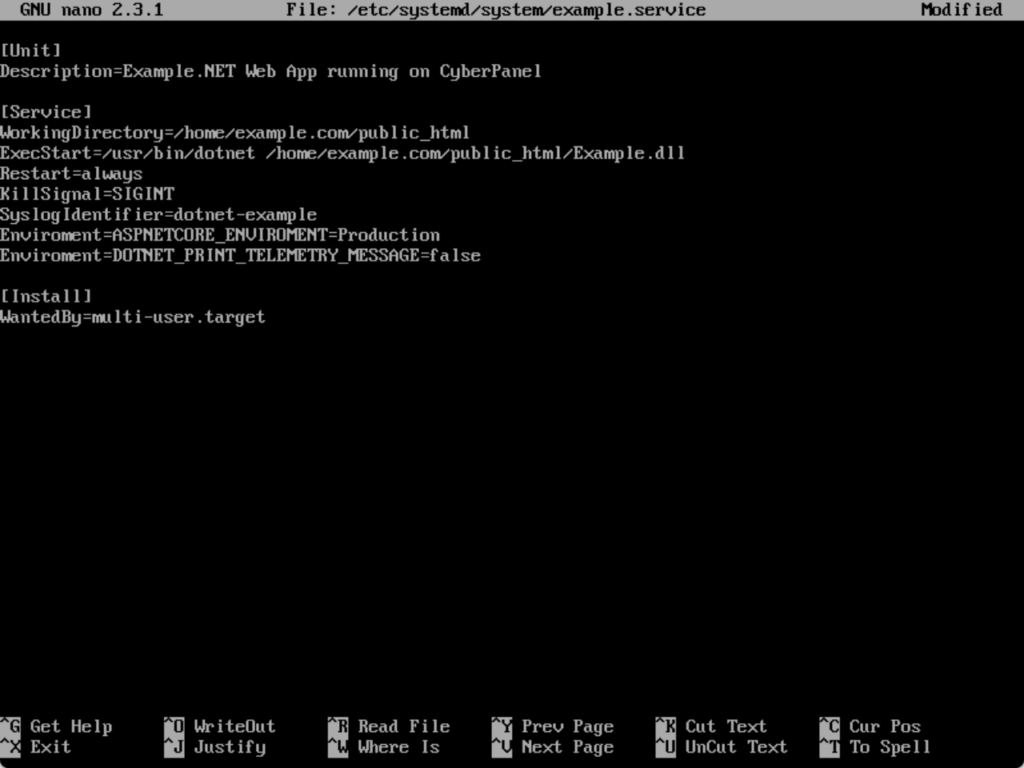
sudo nano /etc/systemd/system/example.serviceModify & Save the following content.
[Unit]
Description=Example .NET Web App running on CyberPanel

[Service]
WorkingDirectory=/home/example.com/public_html
ExecStart=/usr/bin/dotnet /home/example.com/public_html/Example.dll
Restart=always
# Restart service after 10 seconds if the dotnet service crashes:
RestartSec=10
KillSignal=SIGINT
SyslogIdentifier=dotnet-example
Environment=ASPNETCORE_ENVIRONMENT=Production
Environment=DOTNET_PRINT_TELEMETRY_MESSAGE=false

[Install]
WantedBy=multi-user.target
CTRL+O, Enter. to save the file in Nano. CTRL+X to exit Nano.
Step 2
Start the service
sudo systemctl enable example.service
sudo systemctl daemon-reload
sudo systemctl start example.service
Check if the service is running
sudo systemctl status example.service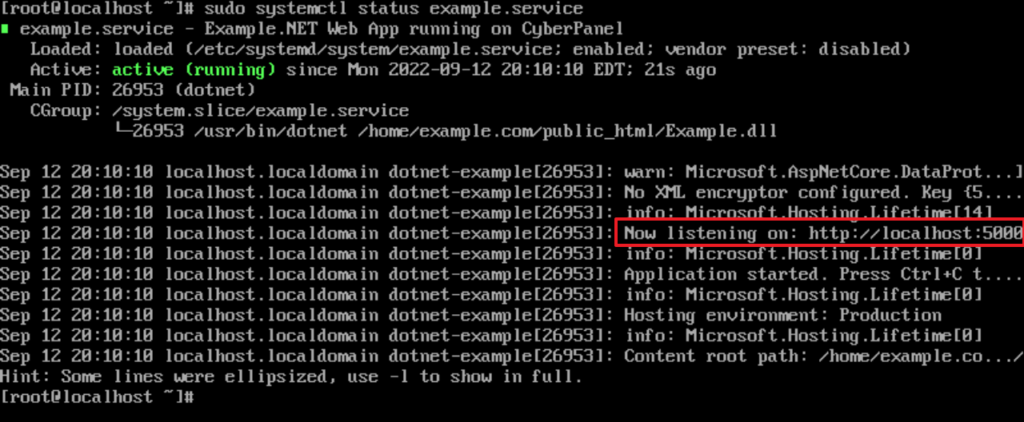
Success!
Configure OpenLiteSpeed
Access OpenLiteSpeed WebAdmin Console using the port 7080 on your preferred web browser.
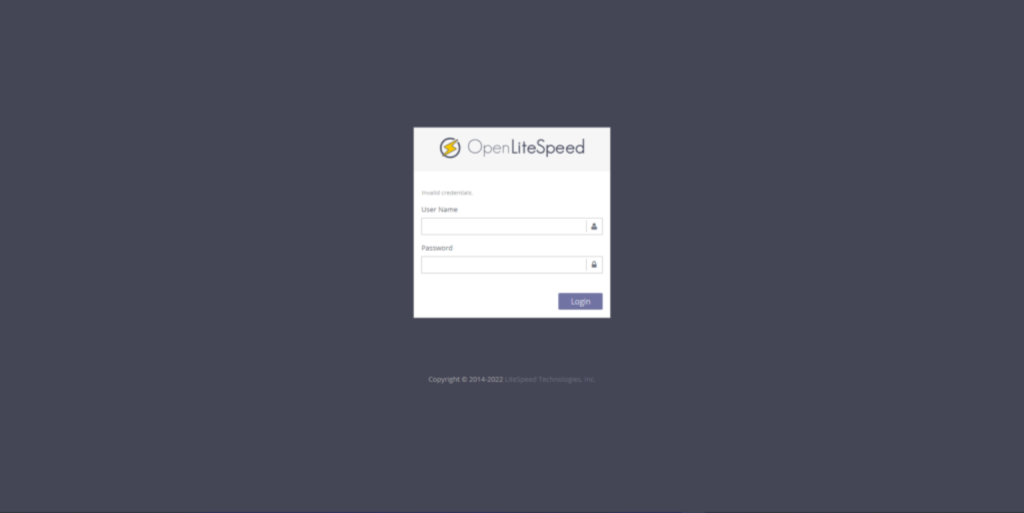
If you don’t know your OpenLiteSpeed WebAdmin Console credentials you can reset them running the following command.
/usr/local/lsws/admin/misc/admpass.sh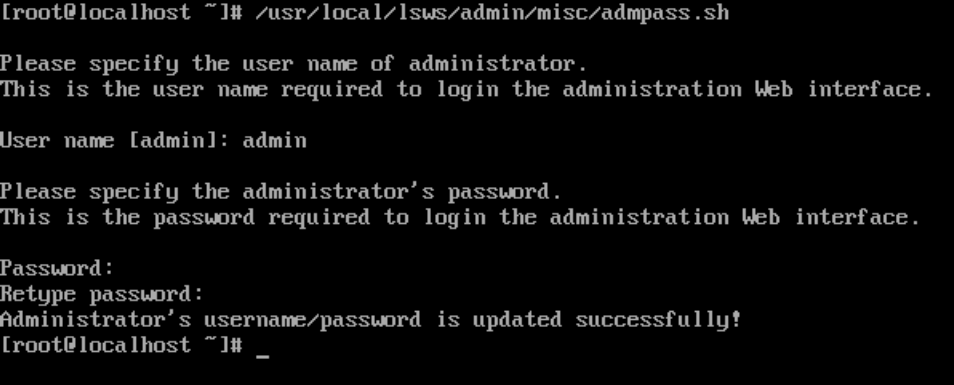
Step 1
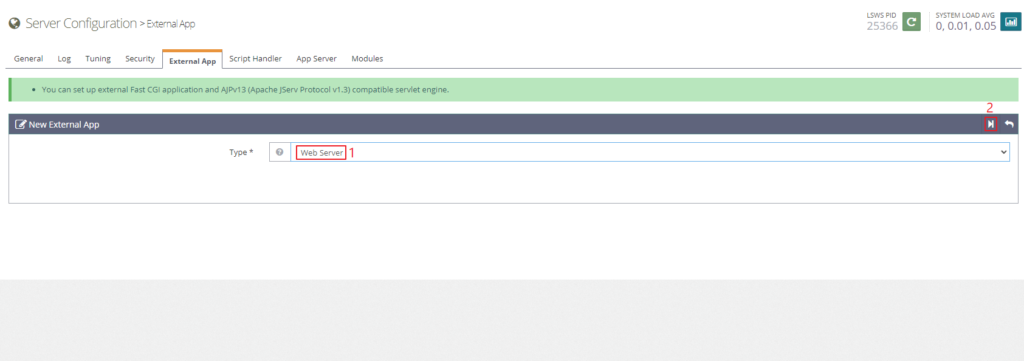
Add new external app.
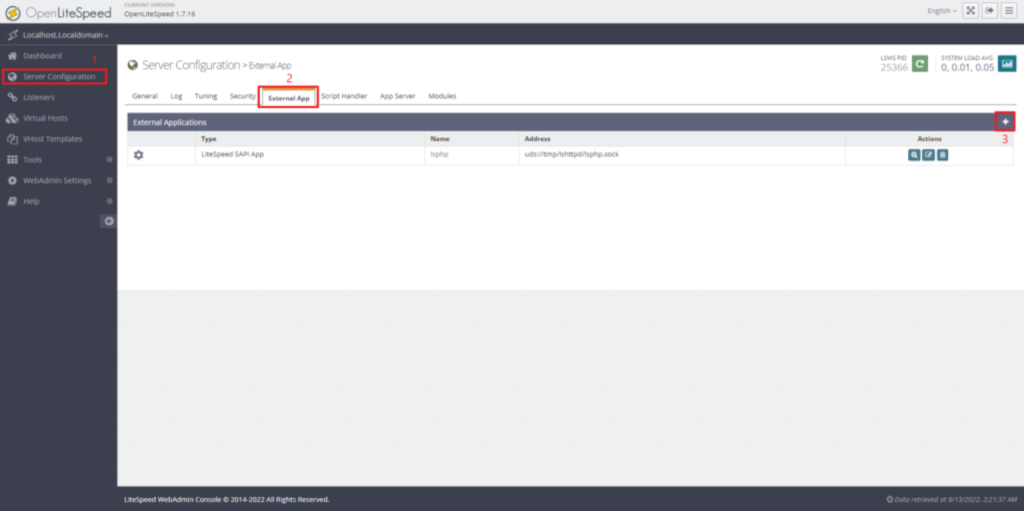
Choose Type Web Server (1) & Click next (2).
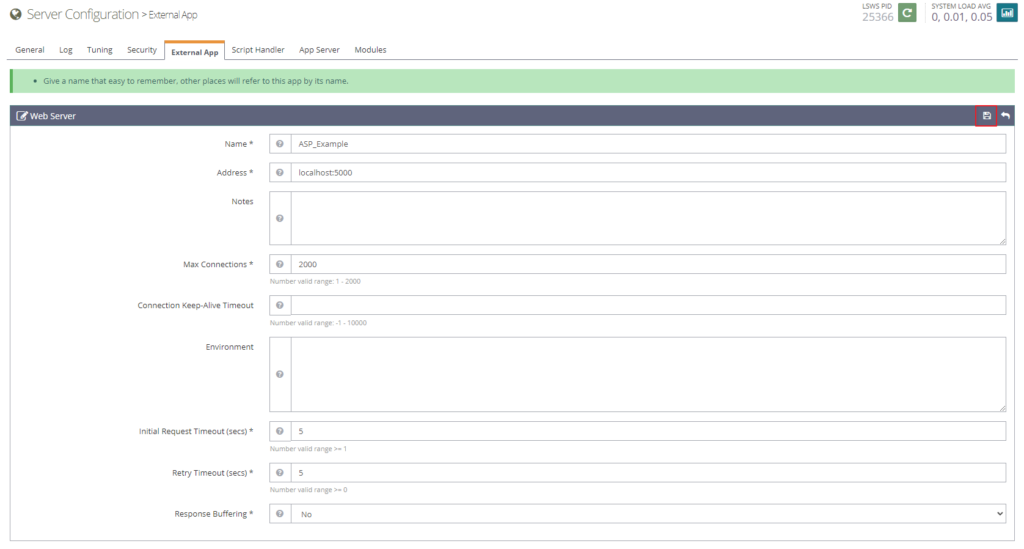
Fill in the details and save your external app.
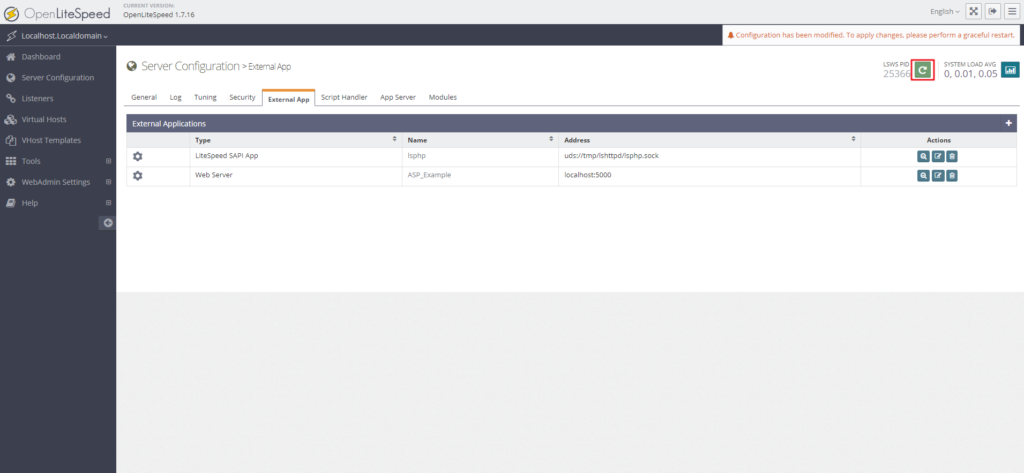
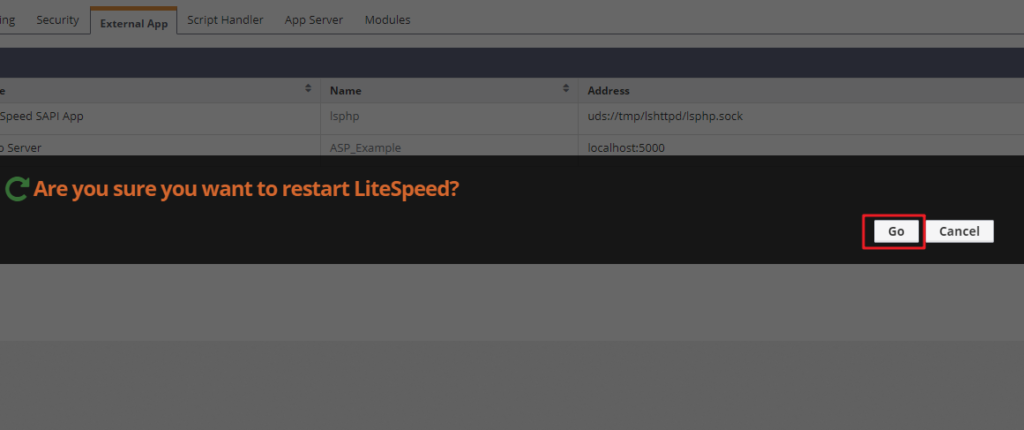
Perform graceful restart
Step 2
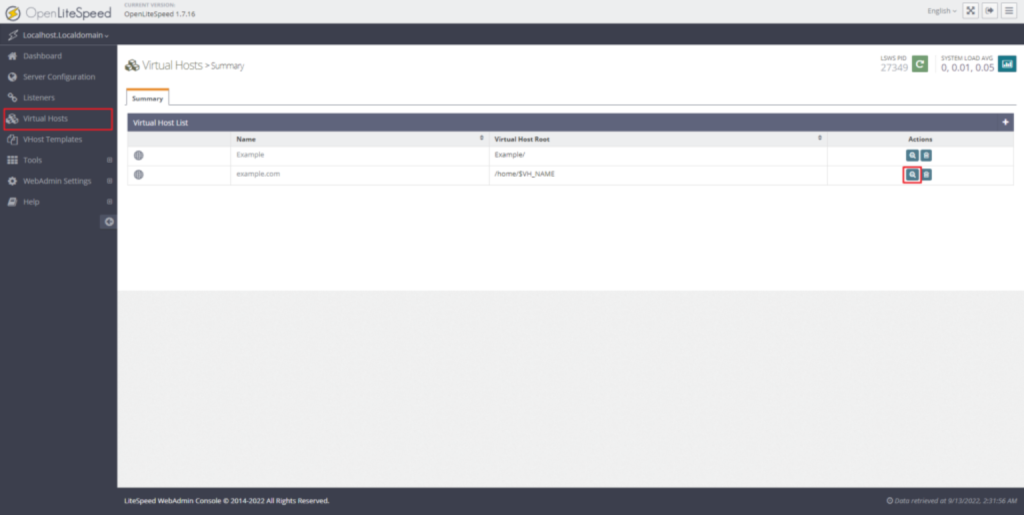
Add new Virtual Host
Open your websites Virtual Hosts configuration.
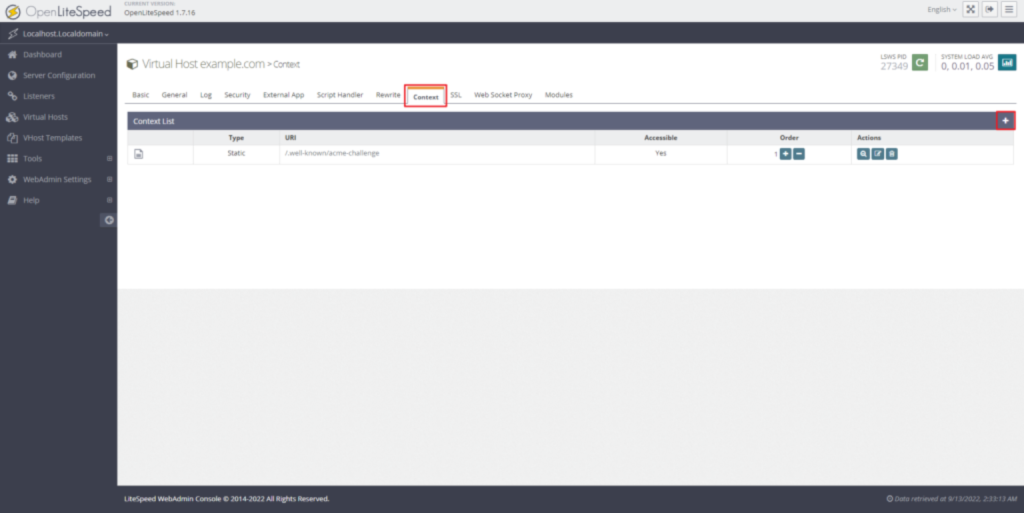
Click Context tab and press New button.
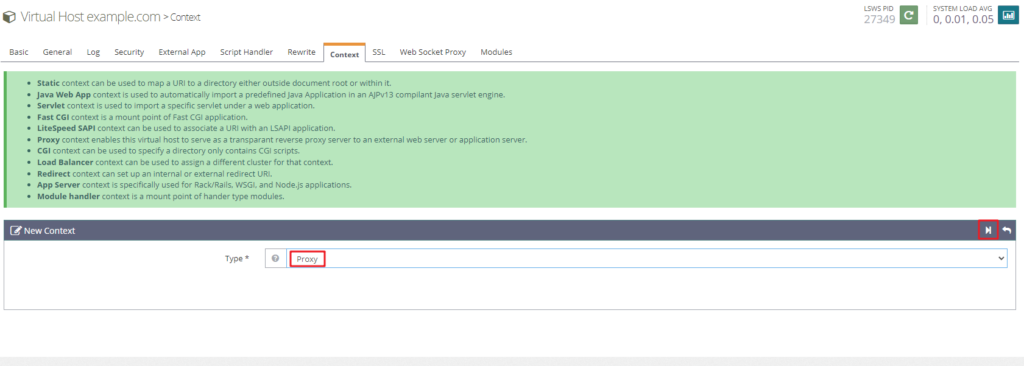
Choose Proxy as Type and click Next
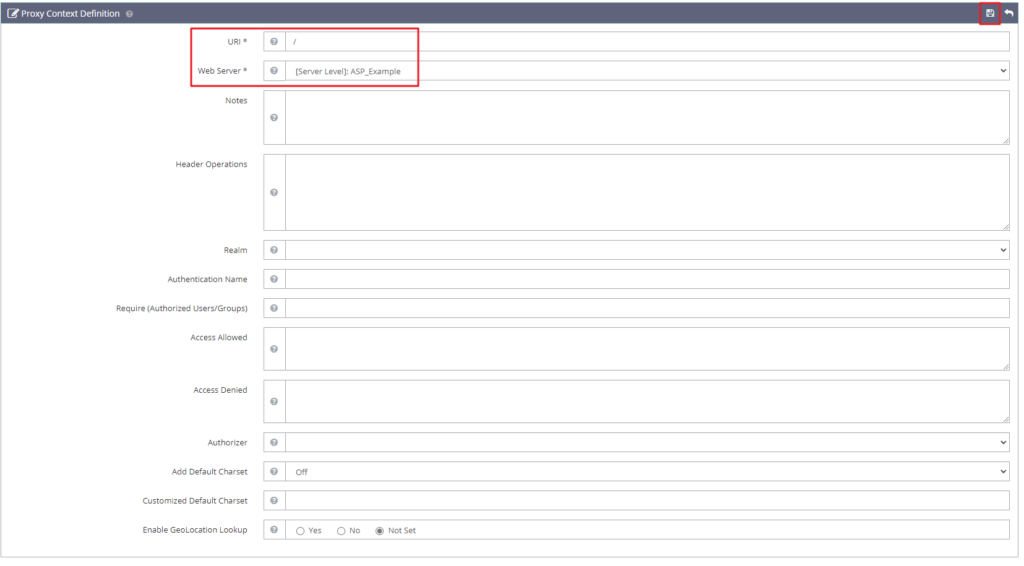
- Enter URI as a slash (root): /
- Choose the Web Server we just created.
- Click Save button.
Perform graceful restart again.
Success!

Republishing
After republishing your ASP.NET project you should run the following command for changes to take effect.
sudo systemctl restart example.service