Requirements
- CyberPanel (Installing CyberPanel)
- SSH credentials & SSH client (PuTTY)
Summary
If you want to connect to your local/production environments MySQL server from your own network follow the tutorial carefully and you will achieve your goal.
Security note
Be careful about your production environment, its best to remove the MySQL port when you don’t need it anymore.
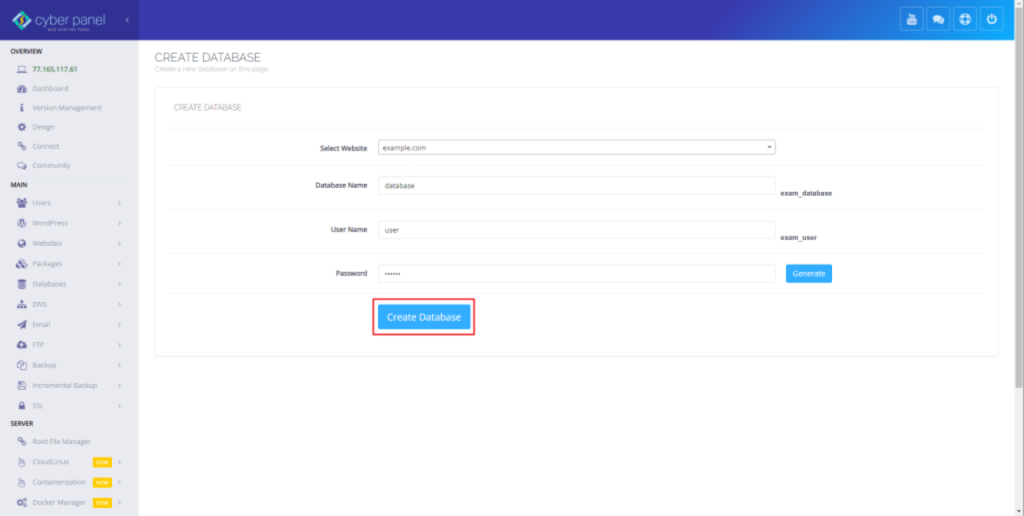
Create a database
Fill in your preferred settings and click on Create Database.
Open PHPMyAdmin to see your database.
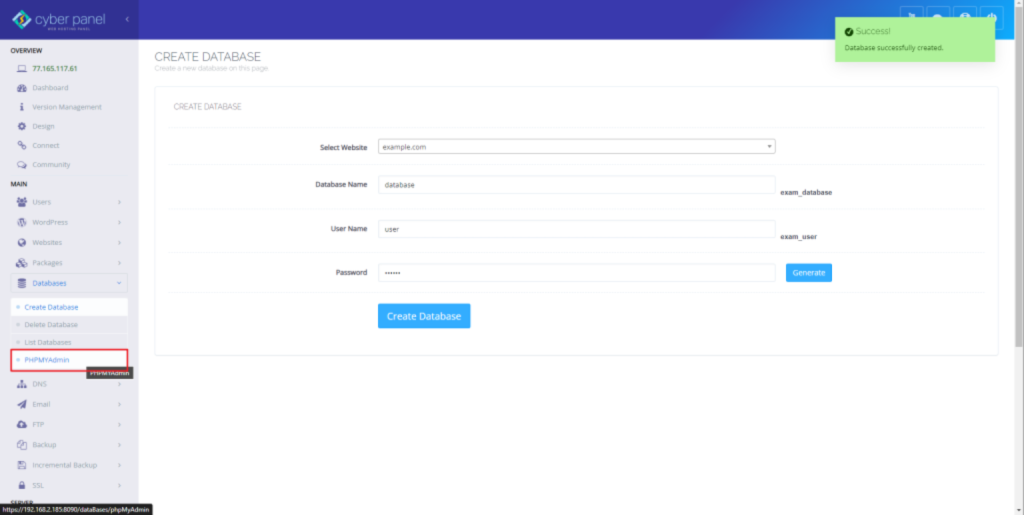
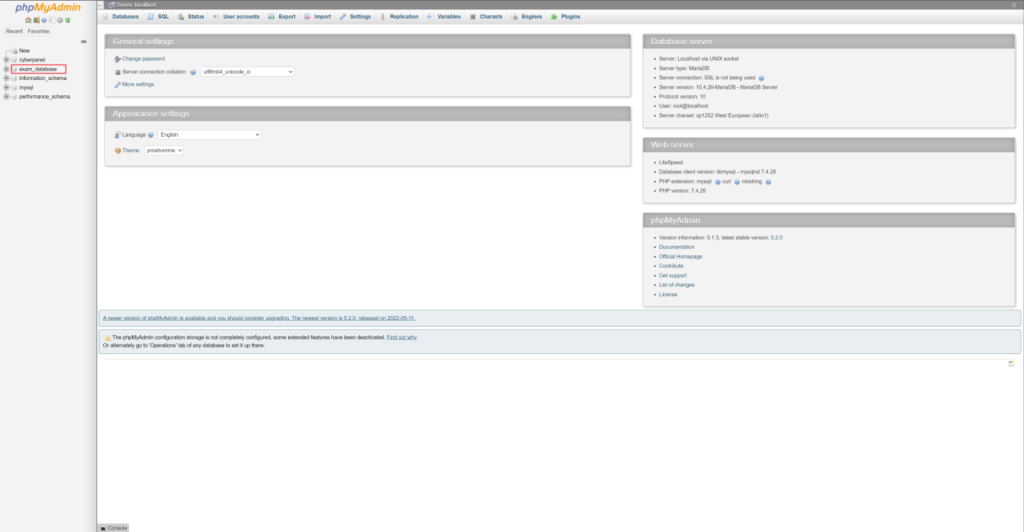
Success!
Configure Firewall for MySQL(MariaDB)
Open Firewall settings under Security in CyberPanel.
Add MySQL port 3306 to the firewall with following settings.
Click here to get your Public IPv4 Address
Name: MySQL
Protocol: tcp
IP Address: Your Public IPv4 Address
Port: 3306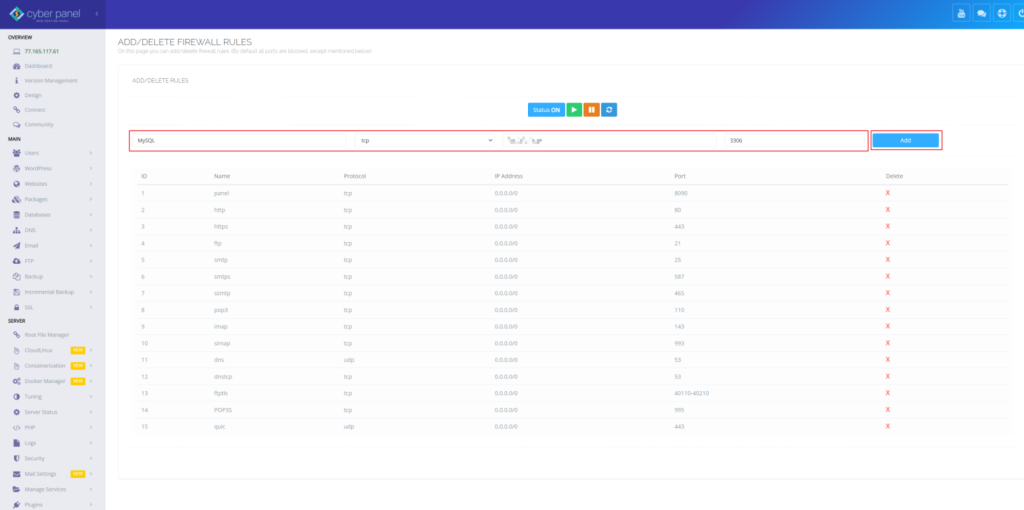
Add new user with all privileges
Open PuTTY and connect to your production environment.
Run the following 2 commands to add a new user with all privileges. Click here to read more about this.
mysqlGRANT ALL PRIVILEGES ON *.* to 'yourdbusernamehere'@'youripv4publicaddress' IDENTIFIED BY 'yourdbpasswordhere';
Success!
Manage privileges
Open PHPMyAdmin and click on User accounts.
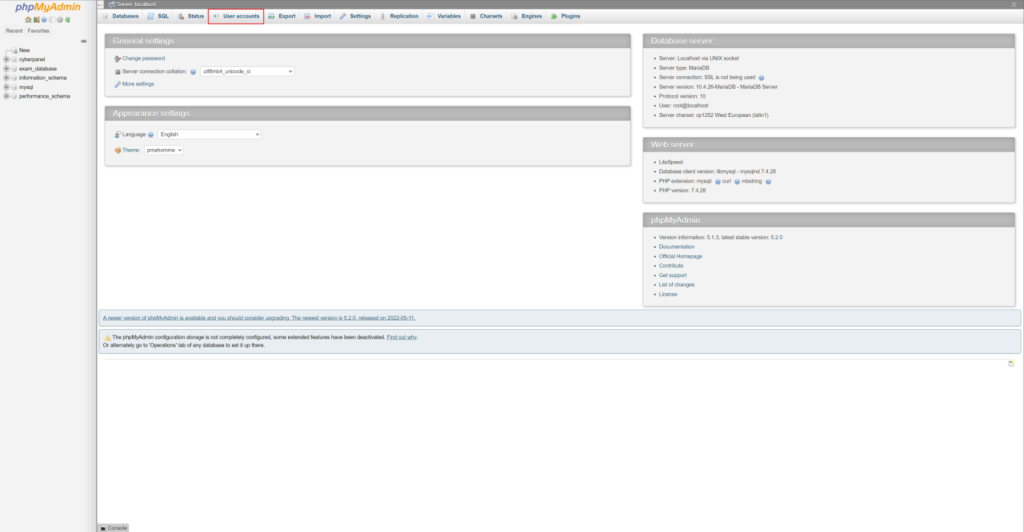
Here you will see all your MySQL users present on your server & the user with ALL PRIVILEGES we just added using the commands above.
On your production environment you will see this user with Host name as your public IPv4 address.
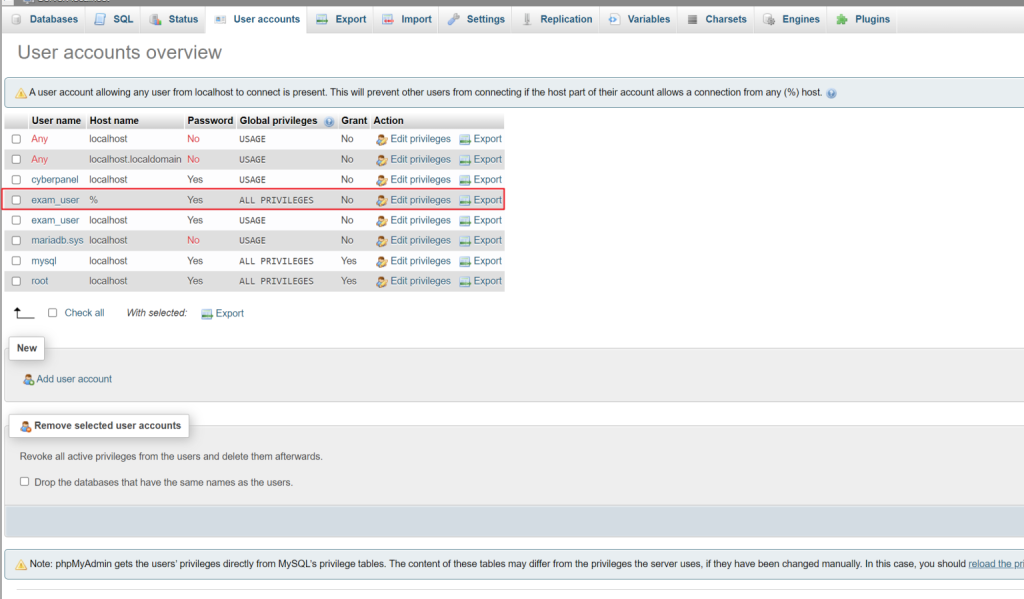
We can limit the privileges by clicking on Edit privileges.
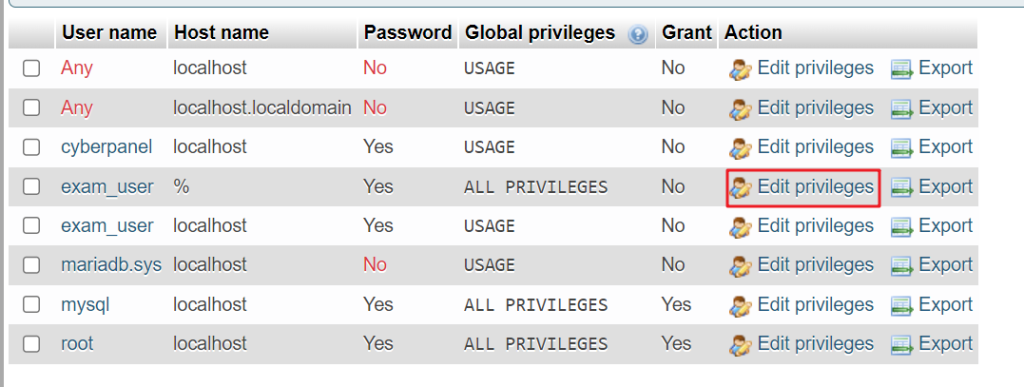
On this page we can manage what the user can do on our server.
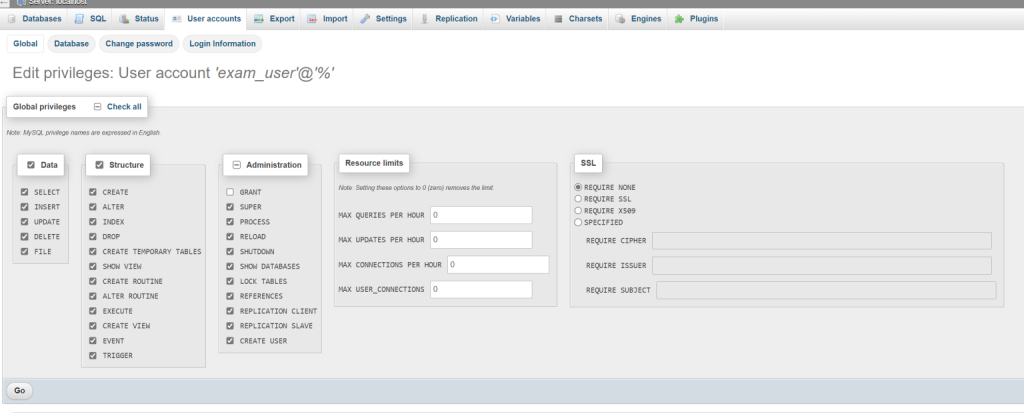
Click here to read about available privileges.
Delete user
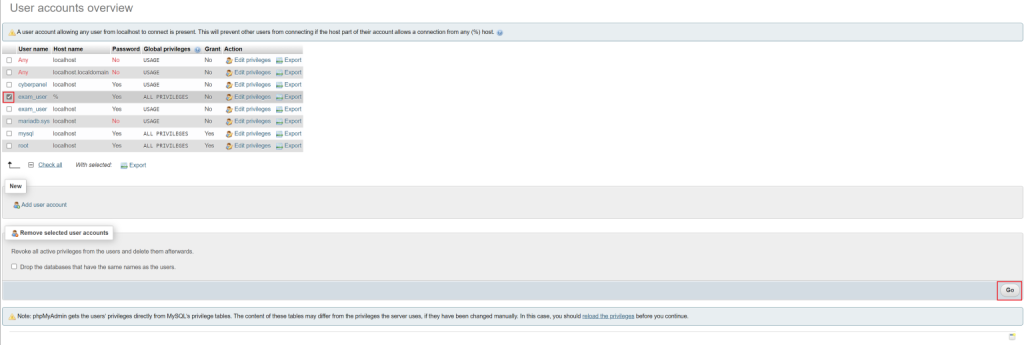
Select the user and click Go under Remove selected user accounts. To remove the user entirely from your MySQL server.
