Requirements
Setup Virtual Machine
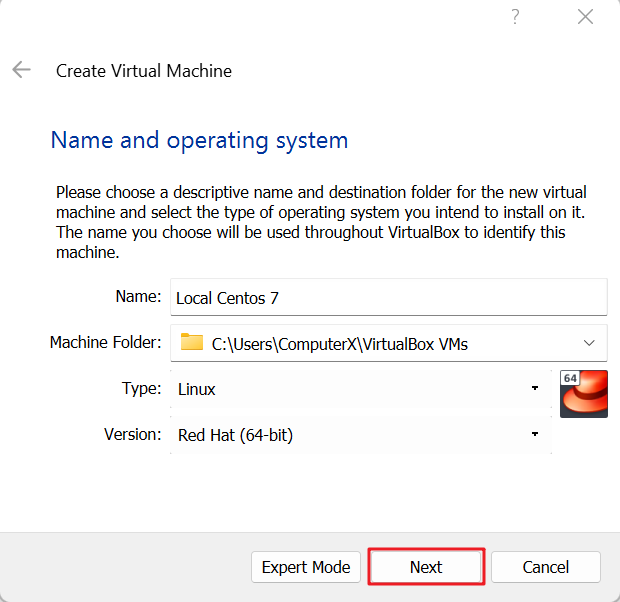
Open VirtualBox and click New.

- Fill in your virtual machine name.
- Select Type Linux
- Select Version Red Hat (64-bit)
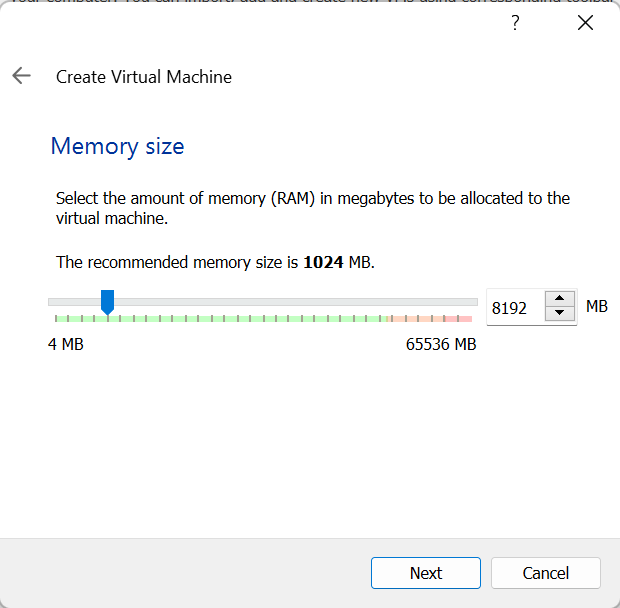
Give the memory size you like (If you want to use MSSQL the minimum requirement is 4GB memory) and click Next.
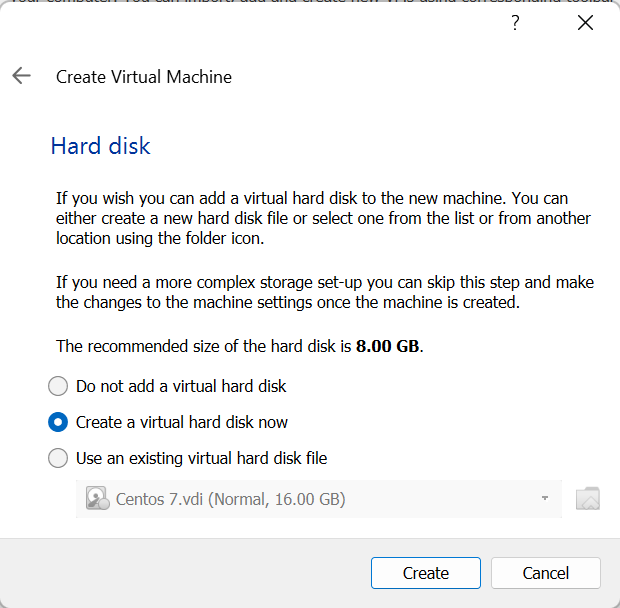
Virtual hard disk is fine for me. Click Create.
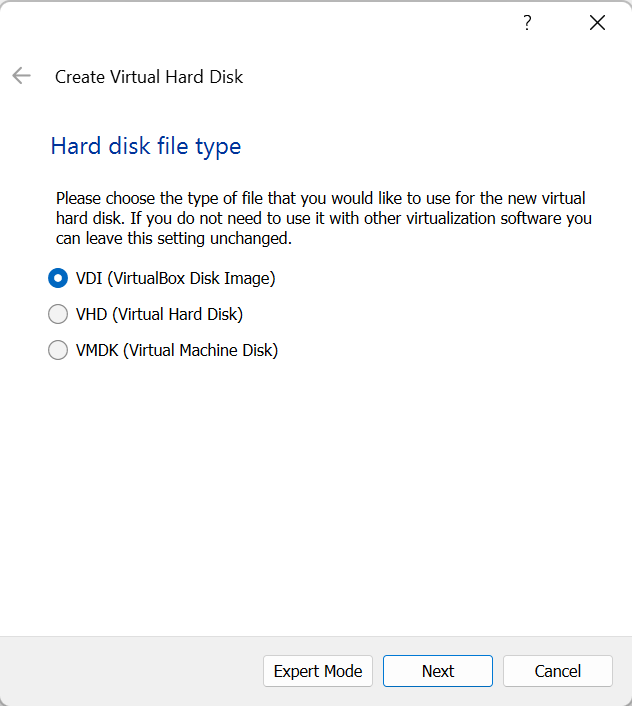
Hard disk type VDI is fine for me. Click Next.
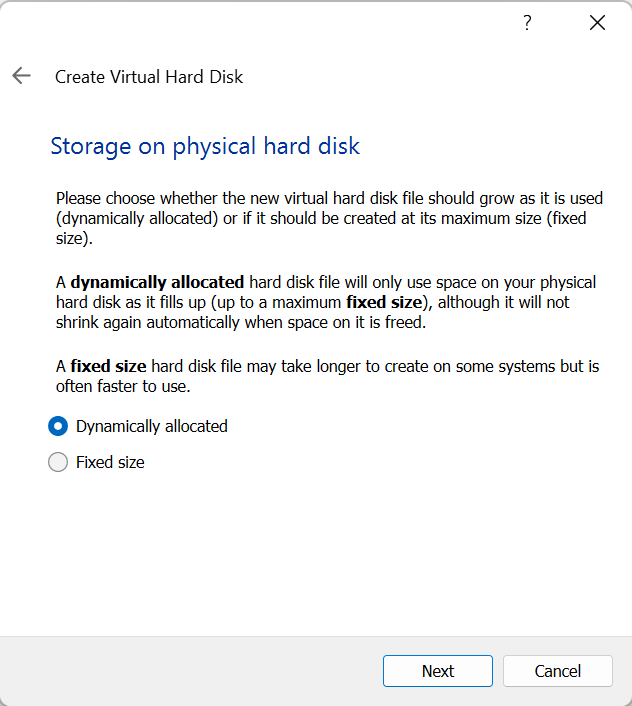
Dynamically allocated is fine for me. Click Next.
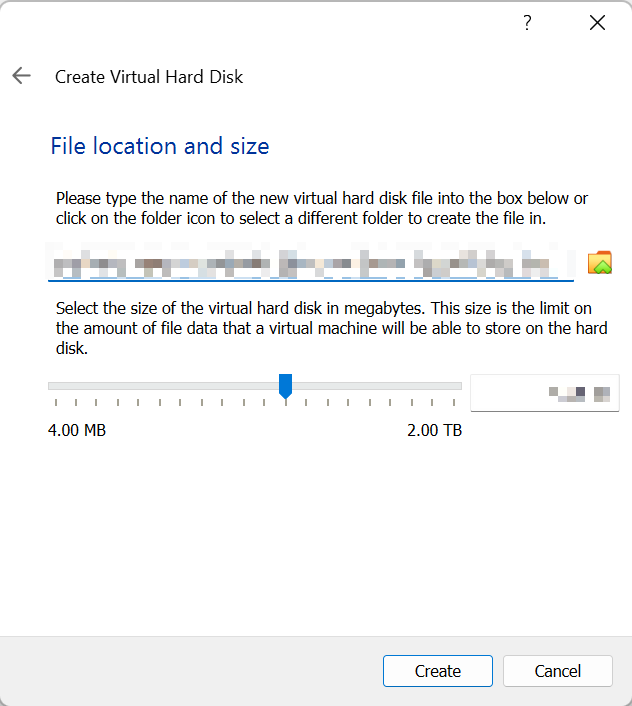
At least 30.00 GB hard disk space for CentOS+CyberPanel should be more than enough. Click Create.
Finished!
Install CentOS 7 on Virtual Machine
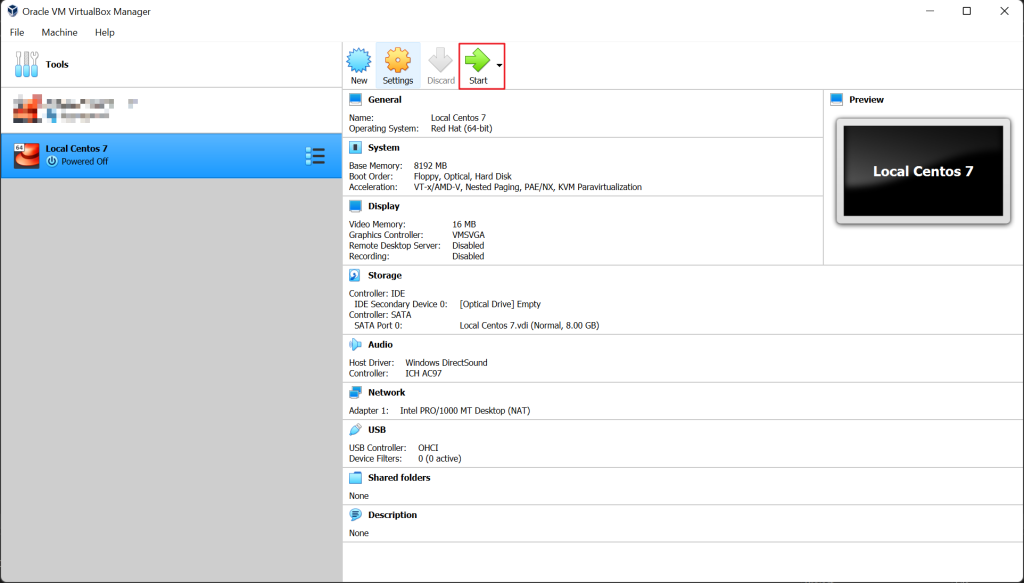
Choose your virtual machine and click Start.
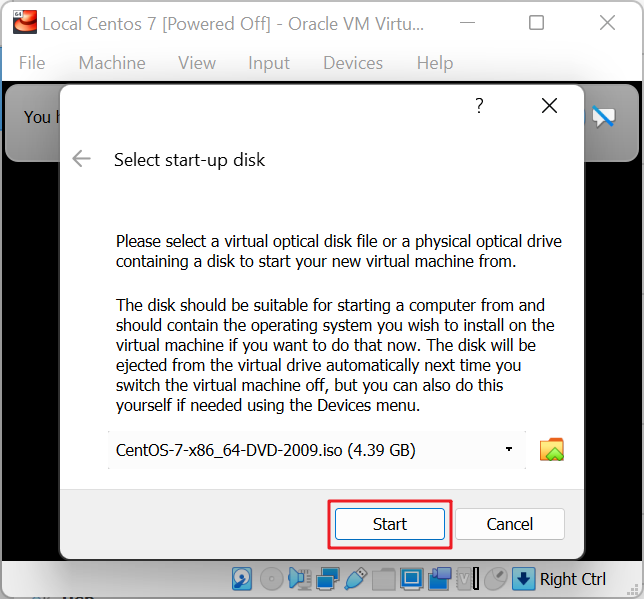
Select your CentOS 7 ISO file and click Start.
Press Enter on your keyboard to continue the installation.
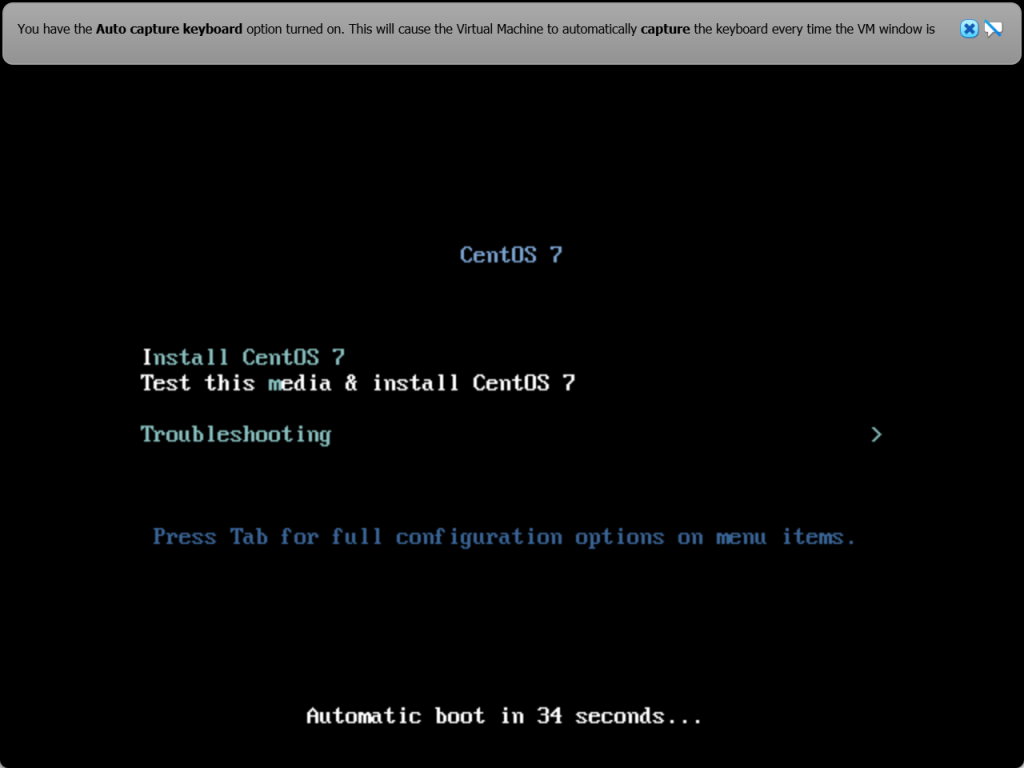
Minimal Installation is good enough for CyberPanel.
Network & Host name setup is important so we can connect with PuTTY.
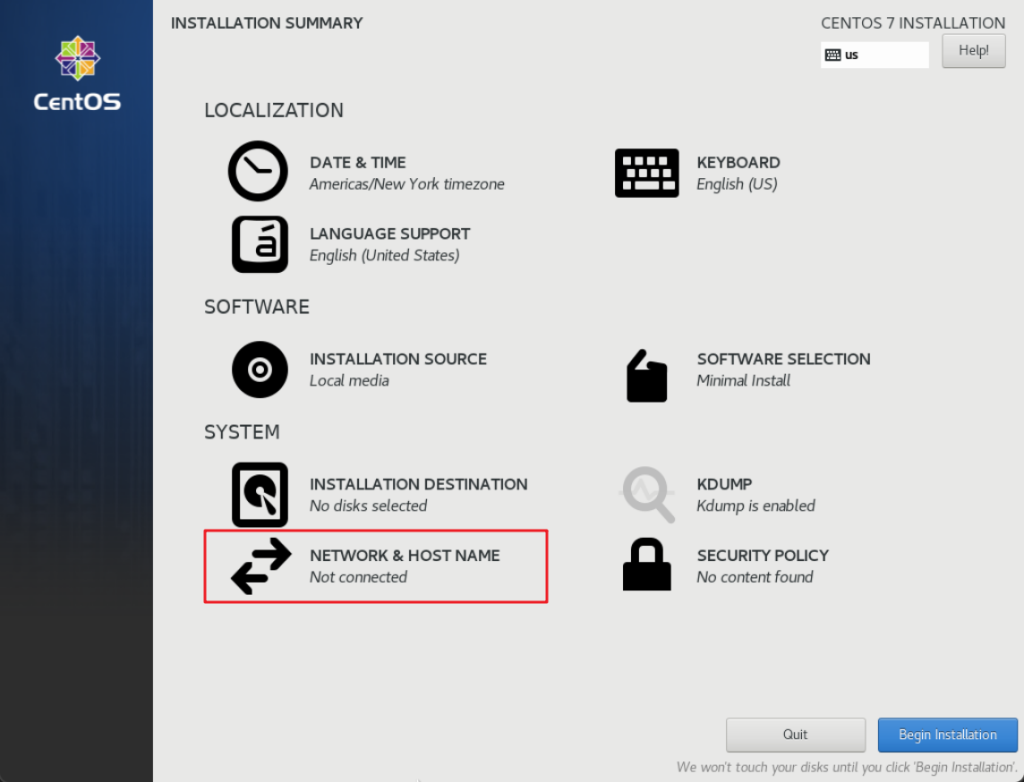
Turn your network adapter on using the switch and then press Done.
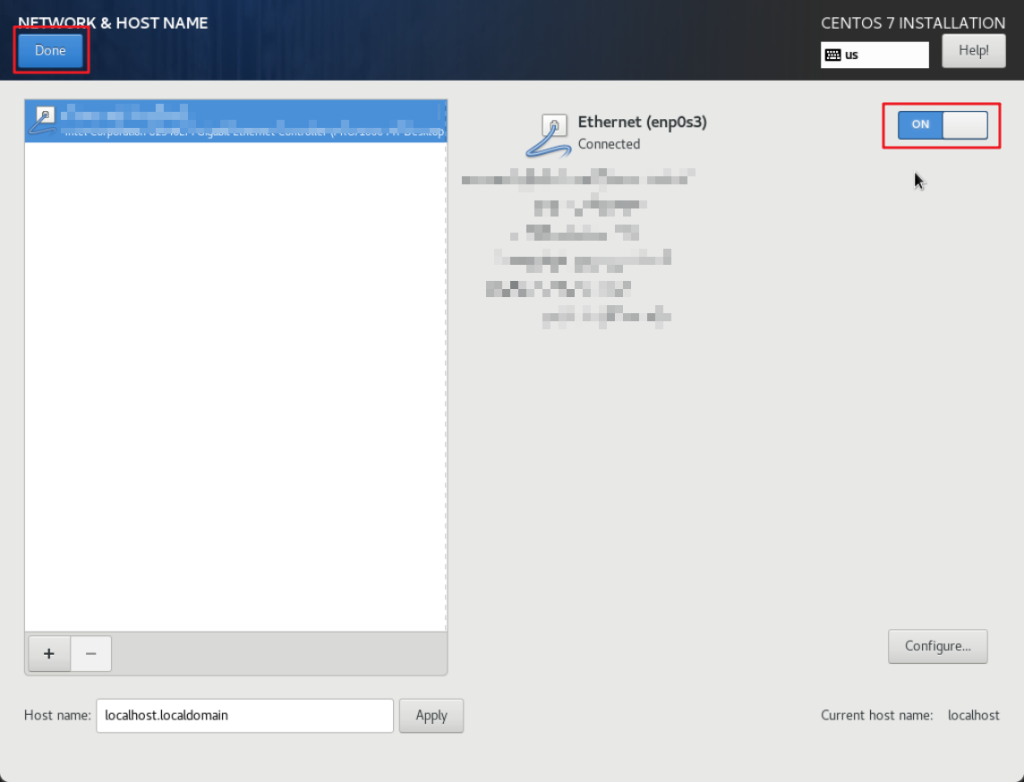
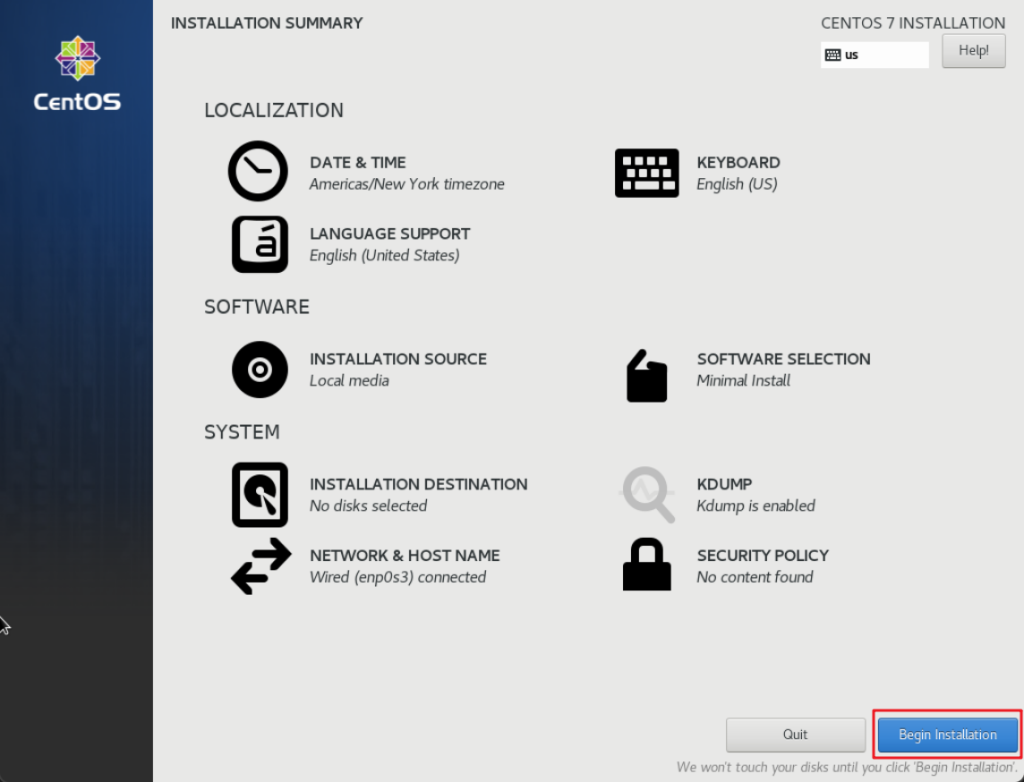
Press Begin Installation.
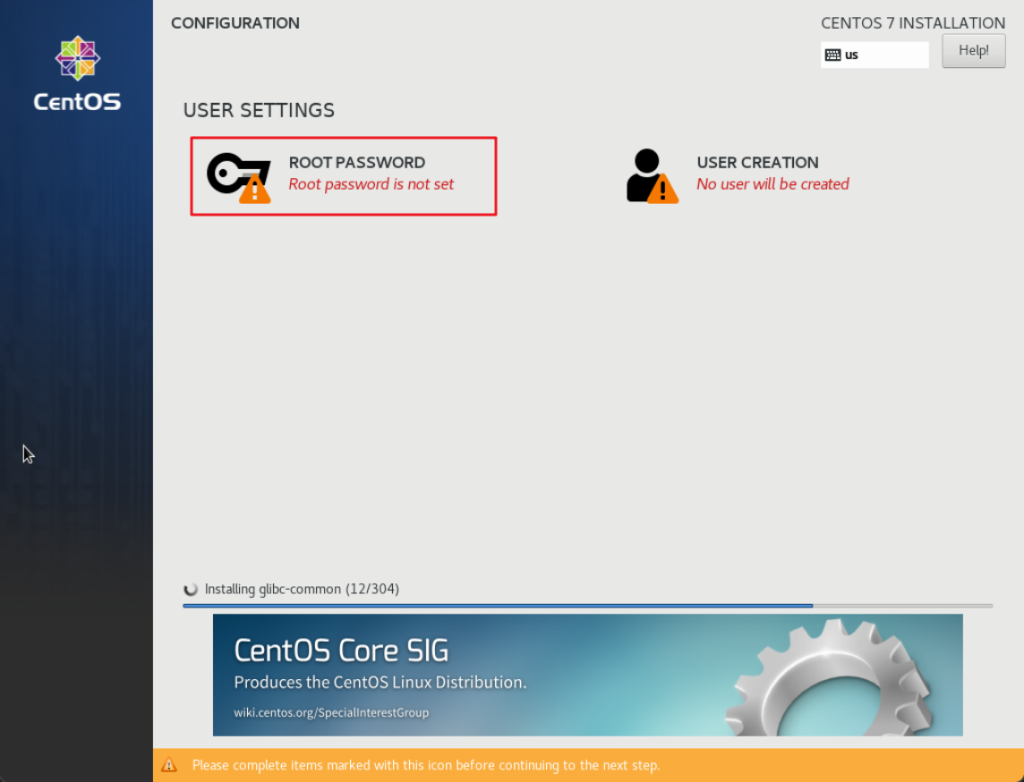
Click ROOT PASSWORD to set a root password for SSH authorization.
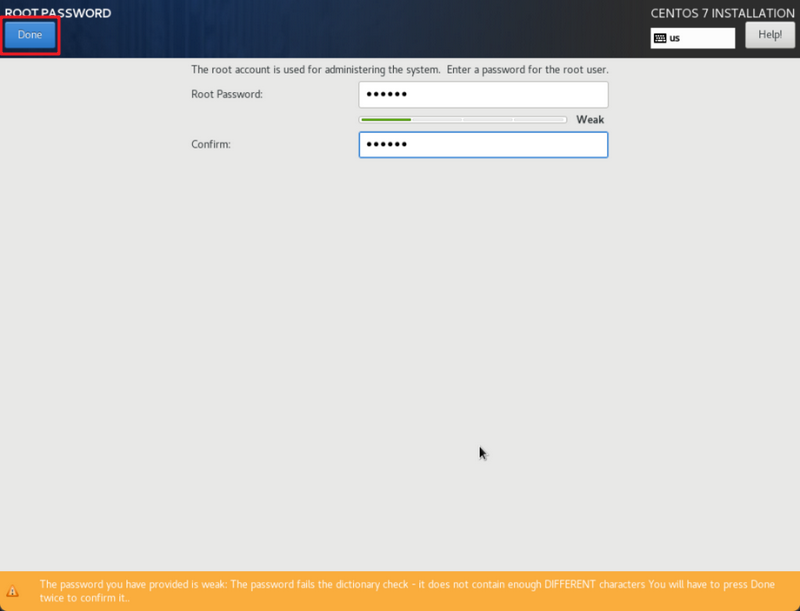
Fill in your password preference and click Done.
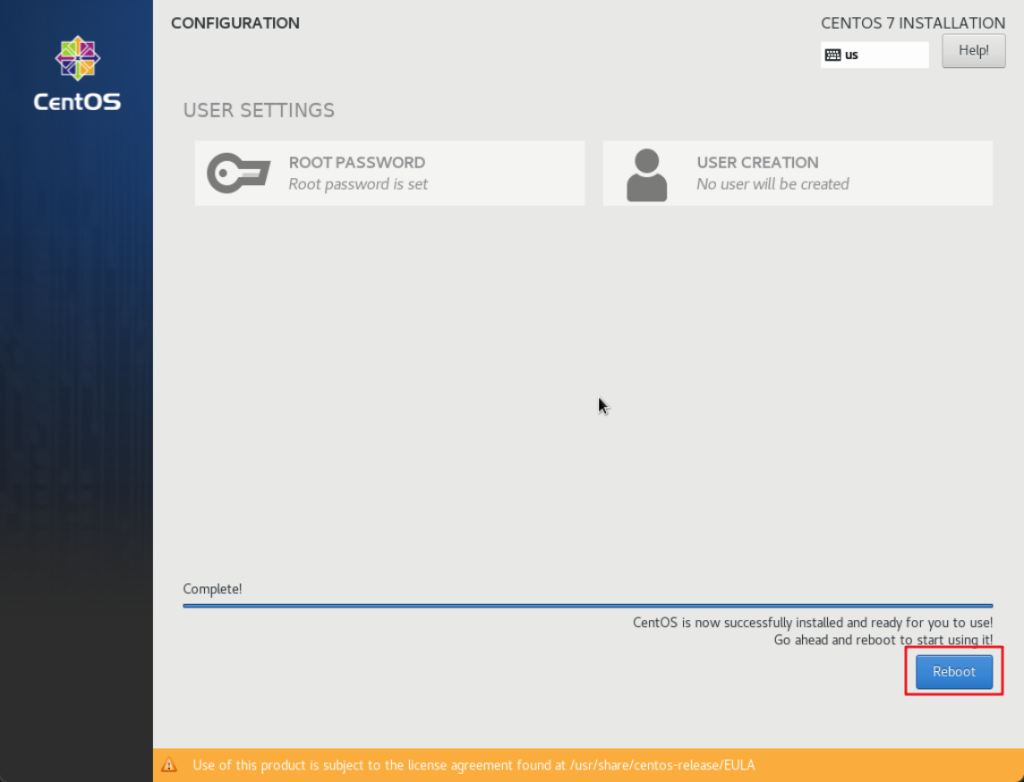
Click Reboot to restart the machine.
Fill in root and press enter on your keyboard.
Fill in your root password you just created and press enter on your keyboard.

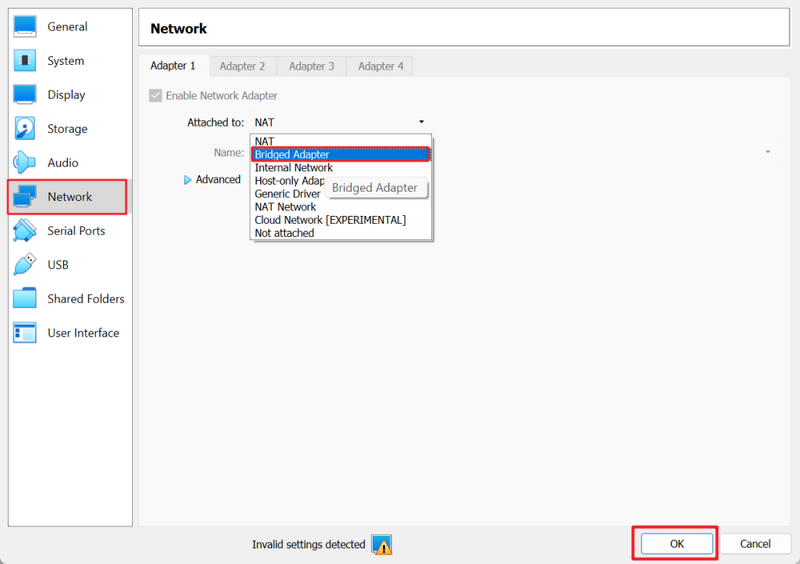
Go to virtual machine settings of VirtualBox.
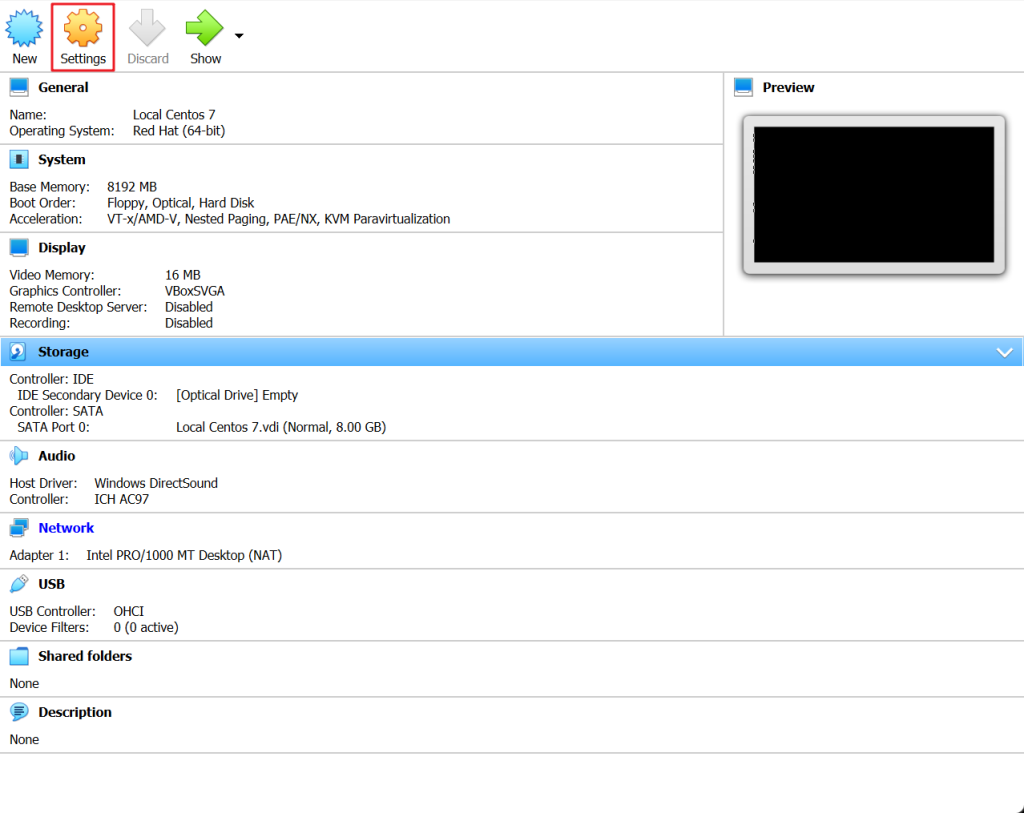
Click network and change your adapter to Bridged Adapter and press OK.
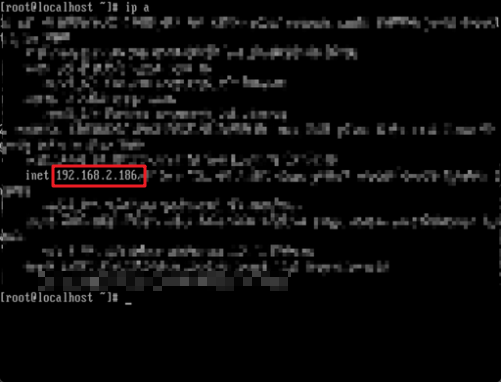
Go back to your virtual machine and type in.
ip aThis will give you the local IP address of your machine that we will use in PuTTY.
Finished!
Connecting using PuTTY
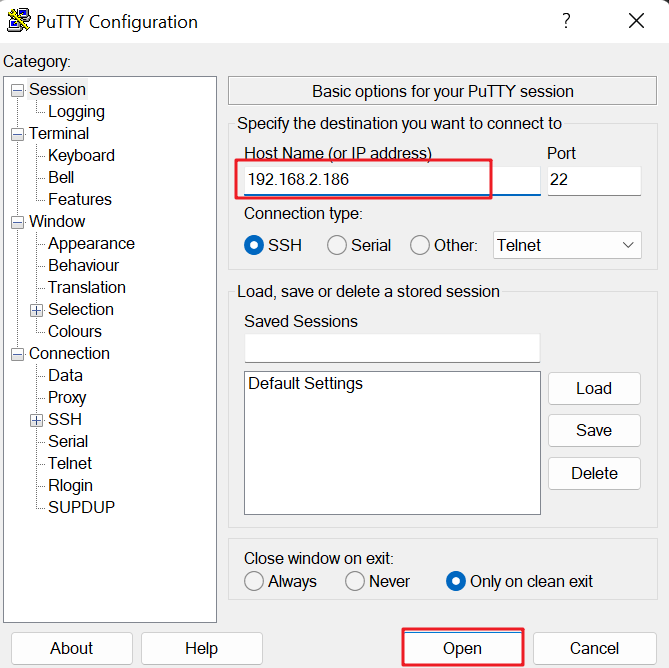
Type in your local IP address in to PuTTY Host Name and press Open.
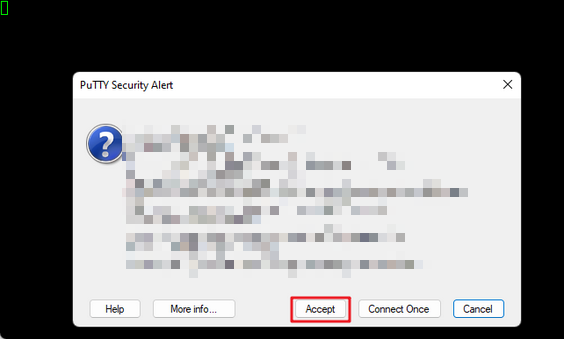
Press Accept on the popup that opens.
Type in your root & root password.
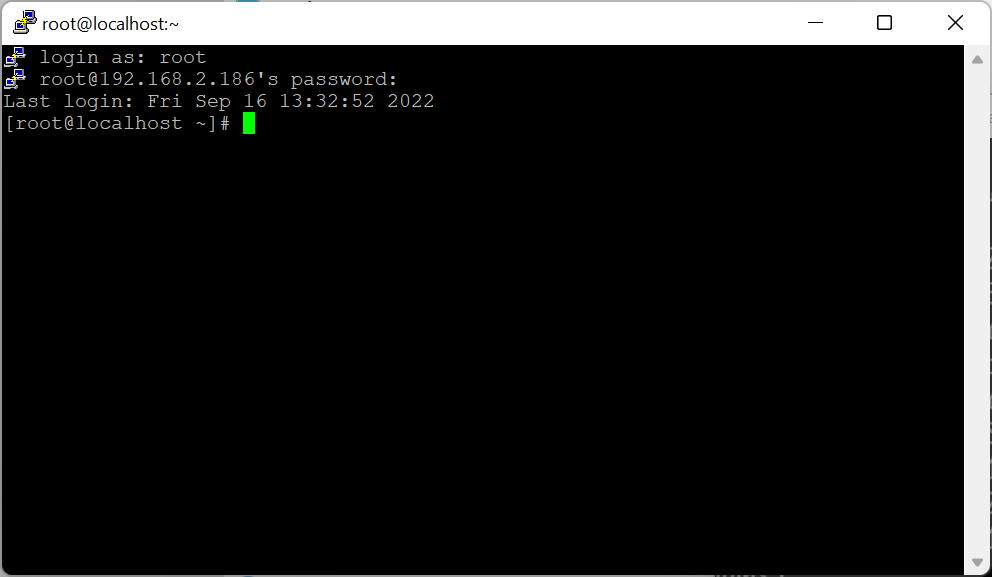
Finished!
Install CyberPanel
Follow this tutorial: Click Here
Access CyberPanel
Open your preferred browser and go to local IP address:8090
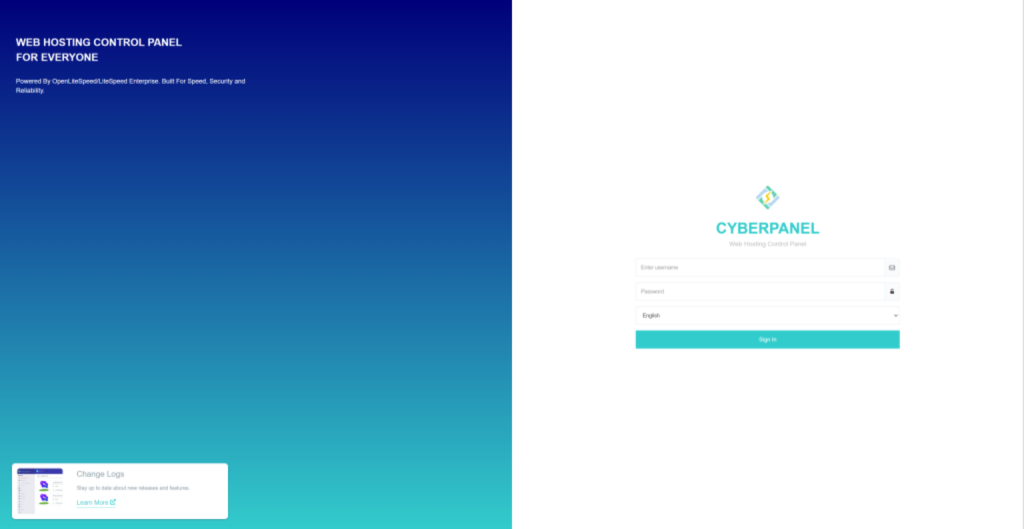
If you chose default CyberPanel installation your login should be:
admin
1234567
Finished!